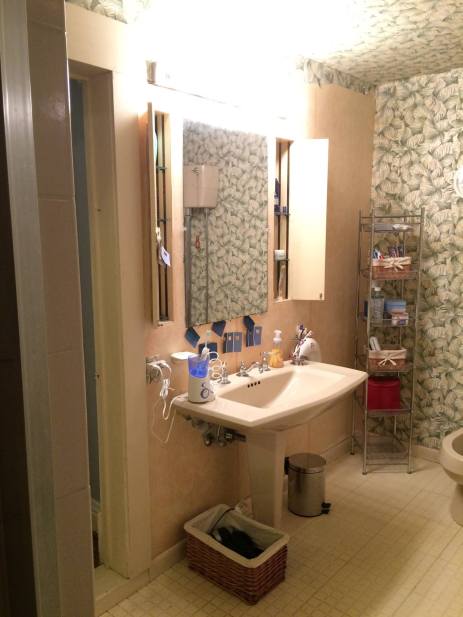
2008: We buy a house with jungle print wallpaper and tan fixtures in the upstairs extension master bathroom
2009: We prioritize other rooms because they were more public
2010: We prioritize other rooms because they were original to the house
2011: We prioritize other rooms because they were more fun
2012: We prioritize other things because we had a baby
2013: And another baby
2014: We have two babies, probably not a lot is getting done around here
2015: I mean making additional messes? On purpose?
2016: New roof needed, necessitating a new skylight… which got me thinking about that bathroom…
So, while my husband was in the Mediterranean doing a study abroad class for 3 weeks, and we still had a few weeks of full time childcare after our semester ended but just before the public school year did, it seemed like the time had finally come, so I decided to tackle the jungle bathroom.
My two biggest priorities:
1. Say goodbye to the loud jungle wallpaper on the ceiling and in the skylight and closet and everywhere.
2. Try to make the “sand”-colored toilet, bidet, sink, and tile seem lighter by using a dark wall color.
Now, I know that leaf print / botanical wallpaper is very “pinnable” and cute:

And some people might argue (with good reason) that it is a great style. I usually love florals and leaves in fabrics, clothing, textiles, art, and jewelry design. But even though I love Blanche Devereaux:

After 8 years of staring at it, I felt sure this stuff had to go:
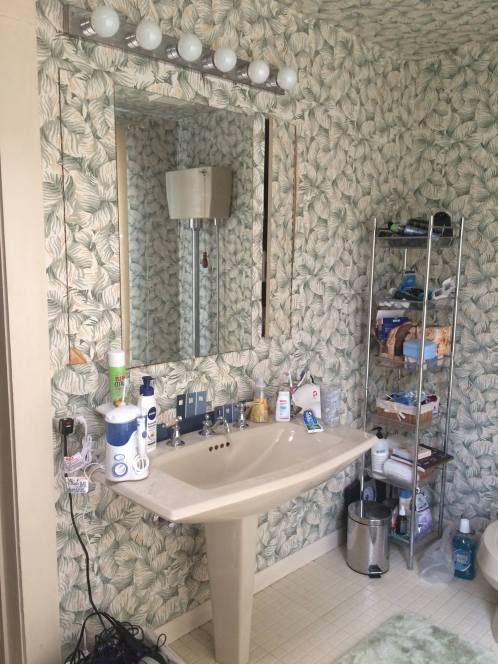
Please note that this wallpaper continued ON TO THE CEILING and was even wrapped up IN TO THE TUBE connecting the skylight to the ceiling. And the adjoining closet ceiling, too. I mean you have to admire the DETERMINATION involved.
Peeling begins. The top vinyl layer came off in fairly large chunks, just by picking up a corner and carefully peeling.

My trusty Wagner steamer helped with removing the under layer — the soft peach paper layer that was actually glued to the walls.

Sorry about the wide range of light levels — these were taken over the course of several different days.
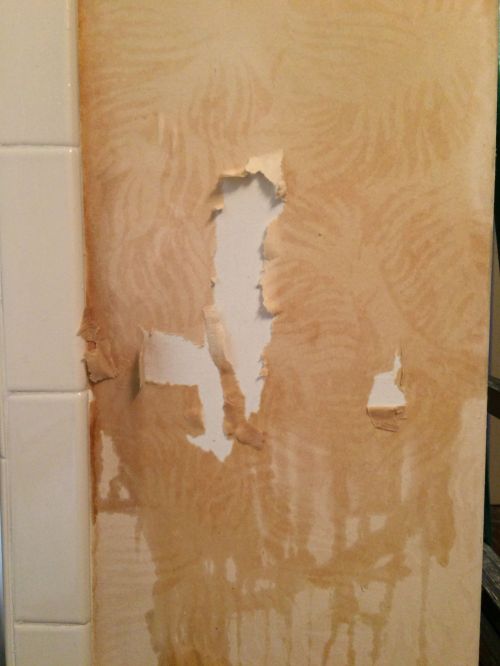
Steaming the under layer briefly led to loosening. Notice you can see the leaf print even on the underlayer because it had aged differently where more and less sunlight got through to it.

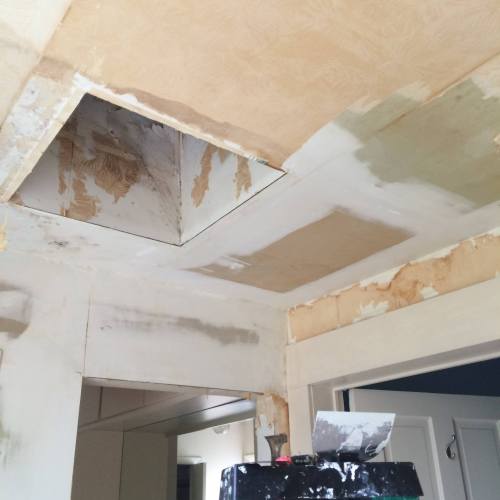
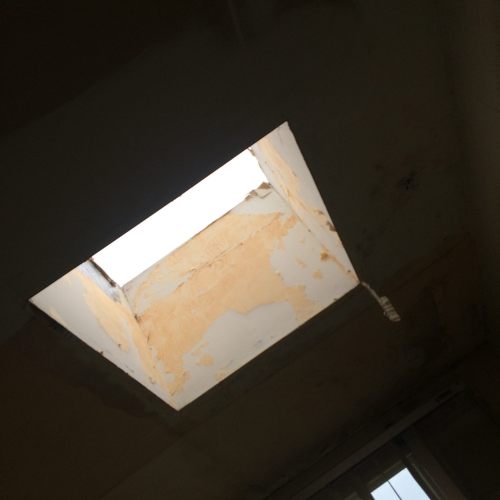
Carpet up, more wallpaper peeled… hi there skylight. Note the wallpaper going on into the closet ceiling as well.

This was while roofers had the skylight covered with plastic before they took it out — it really made the room much darker and made me appreciate that the skylight exists.

The ceiling was very slow going — I think they must have used some stronger adhesive up here, probably because wallpaper on a bathroom ceiling is a tough job!
These small areas were hard as the steamer could not fit into them. Hot water in a handheld spray bottle seemed to work.
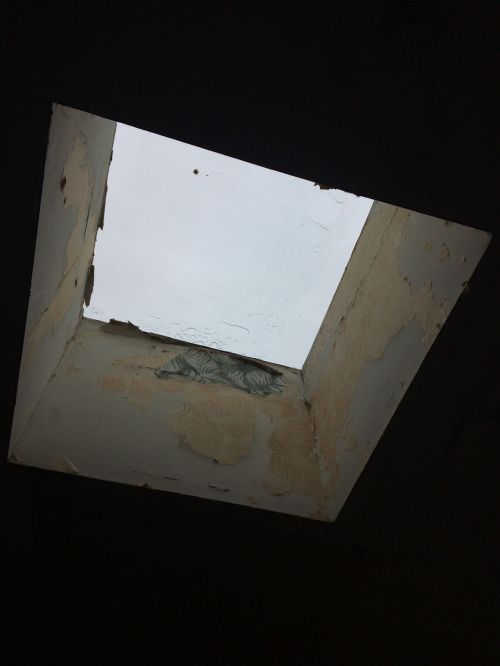
Skylight peeling in progress. There was some rubbery glue in here that was VERY hard to get off — I think it may have been contact cement.
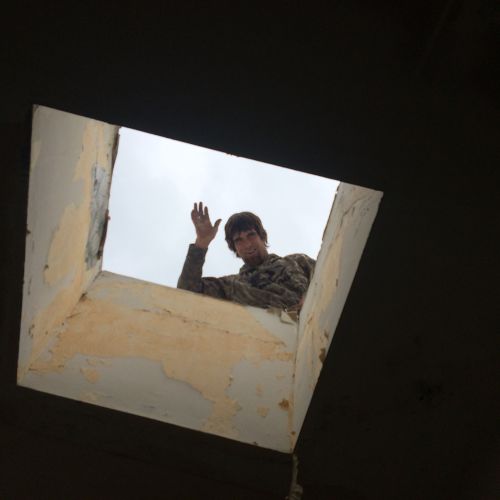
Jesus is that you? (Nope, just skylight replacement day!)
New skylight in place for the rain.

Now about the rest of that ceiling… (And yes, we have a crazy old Victorian style toilet with an elevated tank, who knows why? I will say it has never clogged in 9 years due to its enormous flush-power, so maybe that is why.)

For some reason this back wall was much harder to get right. Slower going than any of the other walls. There truly is a lot of variety in how wallpaper removes, and that is one reason why I will probably never hang it on purpose in any area of my home. It’s just too much of a hassle to get rid of it and make a change.
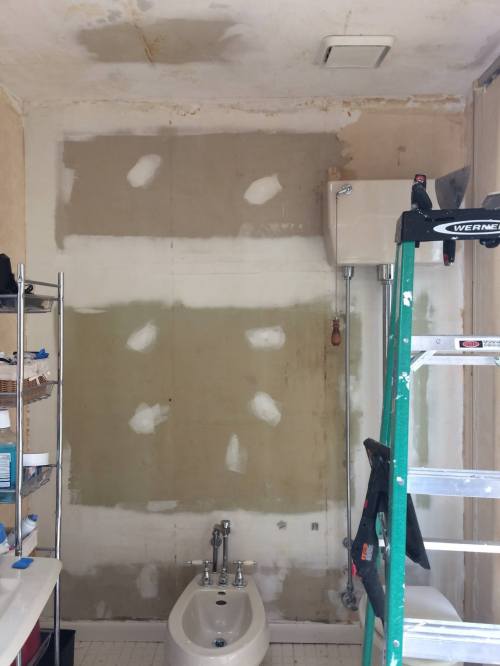
Progress!
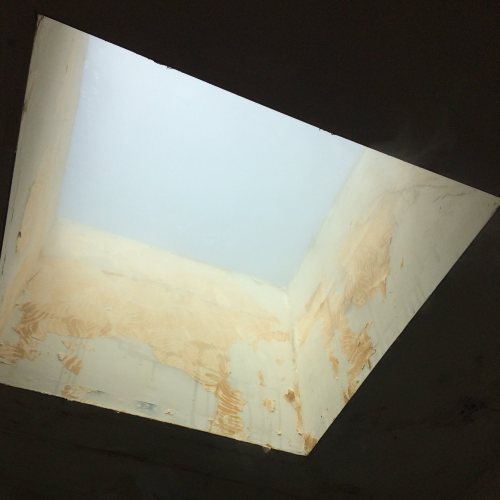
Steaming inside the skylight was weird, it sort of formed a little cloud.

More small areas needing attention.
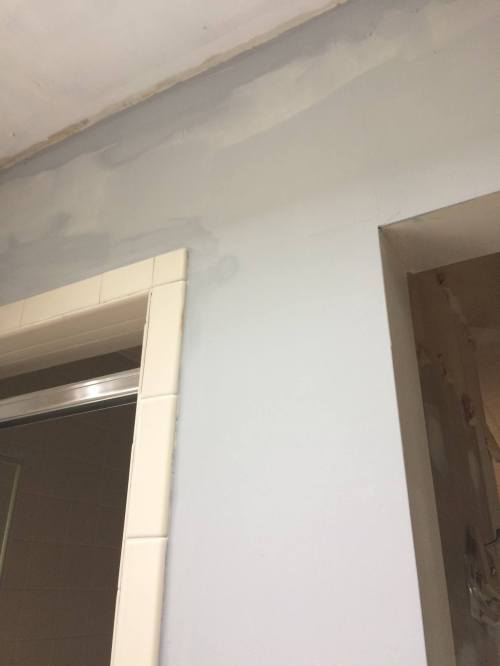
I had read that it is good to use tinted primer before a very dark color. Since we were doing the walls in a very dark blue: Valspar Indigo Streamer, I decided to try it out. Lowe’s paint department agreeably added some black pigment to a gallon of Kilz2 primer I purchased.

It already looked a lot better!

First sample pot of Indigo Streamer on the walls.

One coat down, one to go. This was to try to make that “sand” tone tile look lighter… I felt excited it was starting to work as an optical illusion.
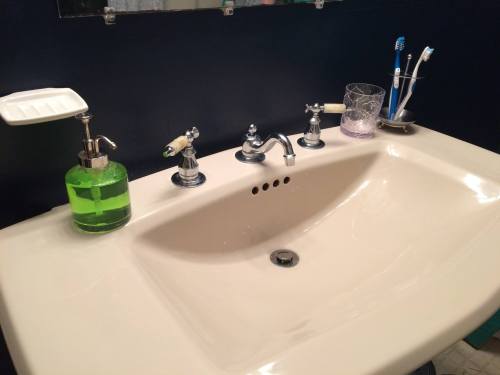
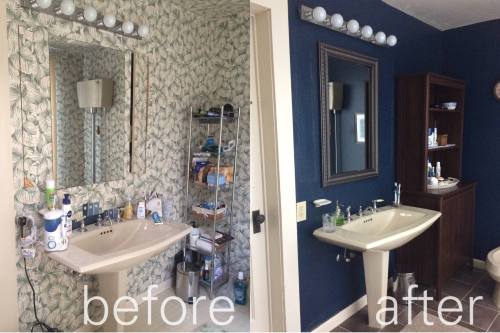
So no, this is not a white sink, but it does look lighter to me.
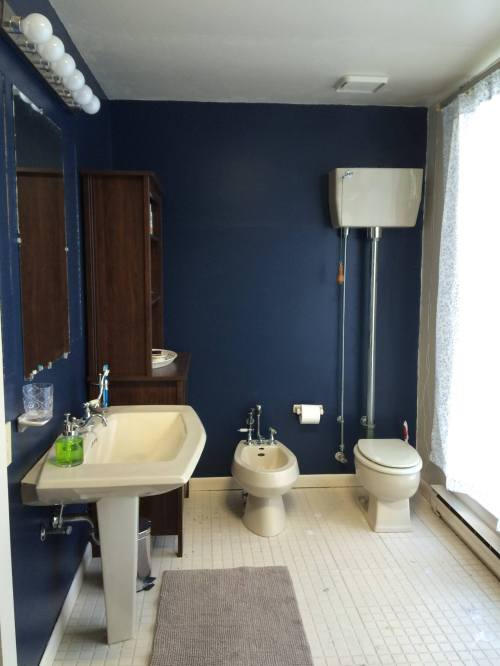
Toilet, bidet, sink against the Indigo Streamer walls.

Rehung some old IKEA curtains over that giant glass window outside the shower for some privacy (there had been vertical blinds but they were very old and not clean enough to save).

I found this image in a 1935 American Standard plumbing catalog online and loved it — now it’s framed in our bathroom! 🙂

Trying to choose some vinyl flooring. We went with vinyl because it was cheaper and we have long term plans to properly redo this bathroom with a soaker tub and new fixtures, so we didn’t want to over-invest in it as is.

Stick on tile floors! We chose a groutable vinyl tile to make it look a little more like ceramic.

Tile progress.

Tile through the adjoining closet — this had been plywood for a couple of YEARS since we had pulled up the carpets for hygiene reasons (Carpet in the bathroom, another thing I will never do intentionally after having dealt with it twice in this house)

Some after pics! I stuck a frame from MirrorMate over the builder mirror to make things look a little more finished. It was a quick and easy install, as promised! I chose a chunky style I liked from their discounted options, and spray-painted it with oil rubbed bronze Rustoleum to match the frames and clock.

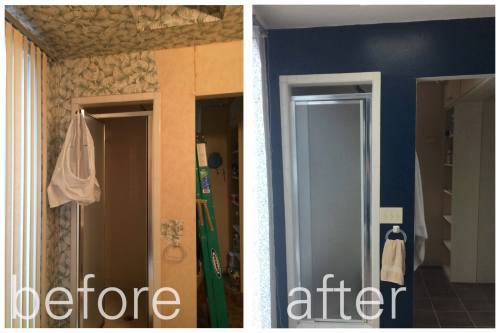
After. It’s still an odd little space (hi, Victorian toilet and bidet!) but at least it’s a lot less junglesome now. All of the trim and the ceiling is painted in Valspar Light Raffia to match the tile and help it read as lighter/whiter.

Closet ceiling WITHOUT WALLPAPER! Now painted Valspar Light Raffia.
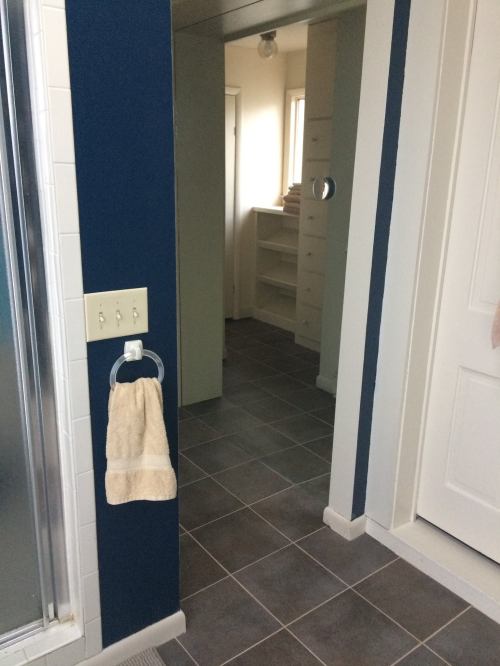
View from the bathroom into the closet.
I’ll finish with a few before-and-after comparisons just for fun.

The floor was Armstrong Crescendo peel-and-stick vinyl 12×12 groutable tile in French Gray. It was $1.08 per tile which was convenient, since we were able to overbuy, save the receipt, and then return the tiles we didn’t use. Link to its current listing at Lowes here. We used a grout color called “Mocha” again to avoid bright whites that would make the fixtures look dark.
So that was our rumble in the jungle! I’m so glad it’s over!
(And yes, it took me over a year to get around to posting this! We’re currently working on the downstairs hallway which had pink grasscloth and pale yellow paint on all the built in bookcases… hopefully I can update sooner when that’s complete.)

Leave a comment